When Electric Kettle Fails: Troubleshooting Guide
Learn fast, safe steps to diagnose and fix a non-working electric kettle, from power checks to descaling and safety tips. Expert guidance from Kettle Care.

Most electric kettles fail to heat due to power issues, a faulty switch, or mineral buildup. Start with simple checks: ensure it’s plugged in, the outlet works, and the lid is properly closed. If it still won’t heat, try another outlet and inspect the power cord for damage. According to Kettle Care, the fix is often quick and safe.
Why when electric kettle is not working
when electric kettle is not working, diagnosing the fault quickly reduces risk and saves energy. In many homes, the problem is not dramatic: a dead outlet, a loose plug, or a switch that didn't fully engage. Kettle Care's analysis, 2026, shows that power delivery issues and mineral buildup are the leading causes. Start by confirming the basics: is the kettle plugged in, is the outlet live, and is the cord free of visible damage? If the device still fails to heat, move to the next checks. Avoid opening the heater housing; many kettles have safety interlocks that prevent operation when removed. With careful, methodical steps, most issues resolve without professional service.
Quick checks you can perform now
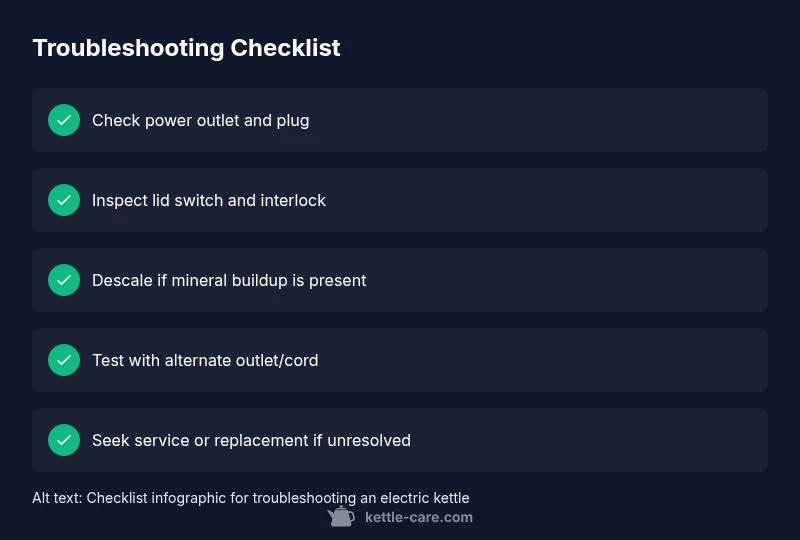
- Ensure the kettle is plugged in and the outlet is live. If the outlet is controlled by a wall switch, switch it on.
- Inspect the power cord for kinks or cuts; a damaged cord is a common failure point.
- Confirm the lid is closed and the lid interlock is engaged; many kettles will not operate otherwise.
- Try a different outlet and, if available, a different kettle to verify the outlet isn't the issue.
- Do a quick visual check for obvious signs of damage or scorching on the plug or base.
Note: These checks are designed to catch the most frequent, low-effort causes and get your kettle back to boiling safely.
Diagnosing the issue: common scenarios
If the unit still won't heat after the quick checks, use a simple decision tree: power-related failures are the most likely. A tripped circuit or blown fuse will cut power to multiple devices, not just the kettle. Mineral buildup on the heating element or sensor can insulate heat and prevent boiling. A faulty thermostat or safety interlock may also stop operation. For each scenario, a safe, stepwise fix often resolves the problem without internal disassembly.
Maintenance and safe operation to prevent future failures
Regular cleaning and descaling reduce mineral buildup that can impair heating. Use clean water, and follow the manufacturer's descaling instructions. After descaling, rinse thoroughly to remove any residue. Store the kettle upright and dry the base after use, and always unplug before cleaning. If you notice cracks, melted plastic, or a burning smell, stop using the kettle immediately and seek service.
Steps
Estimated time: 30-45 minutes
- 1
Unplug and inspect exterior
Unplug the kettle and let it cool if recently used. Look for cracks, melted plastic, or scorch marks on the base or cord. A physical defect can prevent safe operation.
Tip: Never touch hot surfaces; wait until it’s cool before handling. - 2
Test outlet and cord
Plug something else into the outlet to confirm power. Inspect the cord for kinks, fraying, or bent pins. A damaged cord is a common and hazardous fault.
Tip: If the outlet fails, use a different wall outlet or switch to a known-good cord if compatible. - 3
Check lid switch and interlock
Ensure the lid is fully seated; many kettles will not heat if the lid interlock isn’t engaged. Clean any debris around the switch.
Tip: A misaligned lid is a frequent cause of a non-heating kettle. - 4
Descale and clean interior
Follow the manufacturer’s descaling procedure. Use the recommended descaler or a diluted vinegar solution if allowed by the manual, then rinse thoroughly.
Tip: Rinse until no descaling residue remains to prevent off-tastes. - 5
Test heat function and safety interlocks
Fill with water and run a short boil cycle to confirm heating. Listen for the heating element and observe any automatic shutoffs.
Tip: If it still won’t heat, stop using it and review warranty options. - 6
Decide on replacement or service
If multiple checks fail to restore function, the kettle may be at end-of-life. Check warranty and consider a replacement.
Tip: Keep the receipt and model number for service or replacement decisions.
Diagnosis: Electric kettle won't heat or turn on
Possible Causes
- highPower outlet issue
- mediumDamaged power cord or plug
- lowTripped circuit or blown fuse
- mediumMineral buildup or faulty thermostat
Fixes
- easyTest the kettle on a known-good outlet and inspect the power cord for damage
- easyReset the circuit breaker or replace the fuse if it has tripped or blown
- easyDescale and clean the interior following the user manual's guidance
- hardIf unresolved after checks, consider replacement or professional service
Frequently Asked Questions
Why won't my electric kettle turn on?
Most often it's a power issue, damaged cord, or safety interlock. Check outlet, cord, and lid handle first, then move to descaling if needed.
Common causes are power issues or safety interlocks. Start with the basics, then descaling.
Is it safe to use a kettle that won't heat?
If the unit shows any electrical fault or damage, stop using it and unplug. Do not attempt internal repairs.
If it's faulty, stop using it and unplug before seeking service.
Can mineral buildup cause no heating?
Yes. Mineral deposits can insulate the heating element and prevent boiling. Descale according to the manual.
Minerals can block heat; descaling helps restore function.
Should I reset the fuse or breaker?
If a circuit trips, reset the breaker or replace the fuse. If the problem recurs, stop using the kettle and seek service.
Reset the breaker if it trips, but don’t ignore recurring trips.
When should I replace my kettle?
If the unit fails after all checks or shows damage, consider replacement. Check warranty terms for options.
If it keeps failing after checks, consider replacement.
What maintenance helps prevent issues?
Regular descaling, using clean water, and proper drying reduce failures. Follow the manual for best practices.
Regular descaling and cleaning prevent many issues.
Watch Video
Highlights
- Start with power and lid checks
- Descale to prevent heat loss
- Unplug before inspection and cleaning
- Replace if electrical faults persist or obvious damage exists